

There is no rule stating that Instagram stories cannot be viewed for the rest of your life. Highlights on Instagram are a great way to keep your best work visible to your followers so they can see it again and again.
In addition to extending the ‘life’ of your Instagram stories content, highlights are a terrific way to convey what your account is all about. Most Instagram highlights covers (the visuals that sit along your highlights bar) were utilized by brands and influencers to show off the various themes of their accounts.
As an illustration, a mommy blogger’s highlight cover icons might include “motherhood,” “house,” and “style.” In addition, you may personalize your Instagram highlight covers with a variety of colors, patterns, and graphics.
In this article, we’ll show you exactly how to make your own Instagram highlights covers, and we’ll also show you some great examples to get you started.
How to make custom Instagram highlights covers
![]()
You’ll need access to a free graphic design tool in order to create personalized Instagram Highlights covers. Canva is a favorite of ours, and you can access it right from your Plann account!
Step 1:
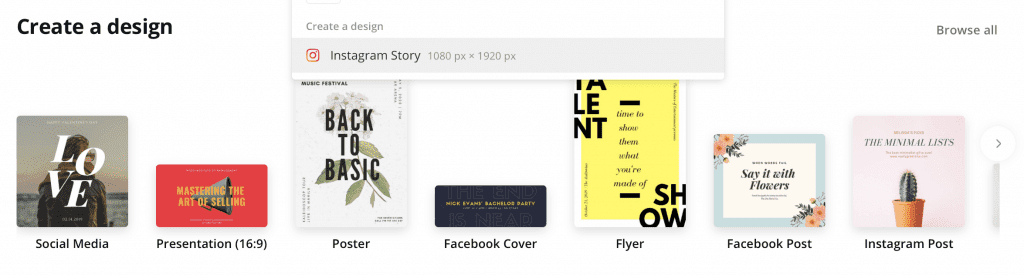
Open your Canva account and type “Instagram Story” into the search bar and scroll to the bottom.

Step 2:
When the “Instagram Story” template appears, click on it to begin creating your Instagram Story. For your Instagram Story highlight cover, you’ll now have the correct sizing.
Step 3:
Right-click on the sidebar and select “GRAPHICS” from the options. Your Instagram Story highlights will now have a variety of icons to select from, thanks to the new search function.
Options include free icons as well as premium ones. In addition to using Canva’s text options, you can also design text-based highlight covers.

Step 4:
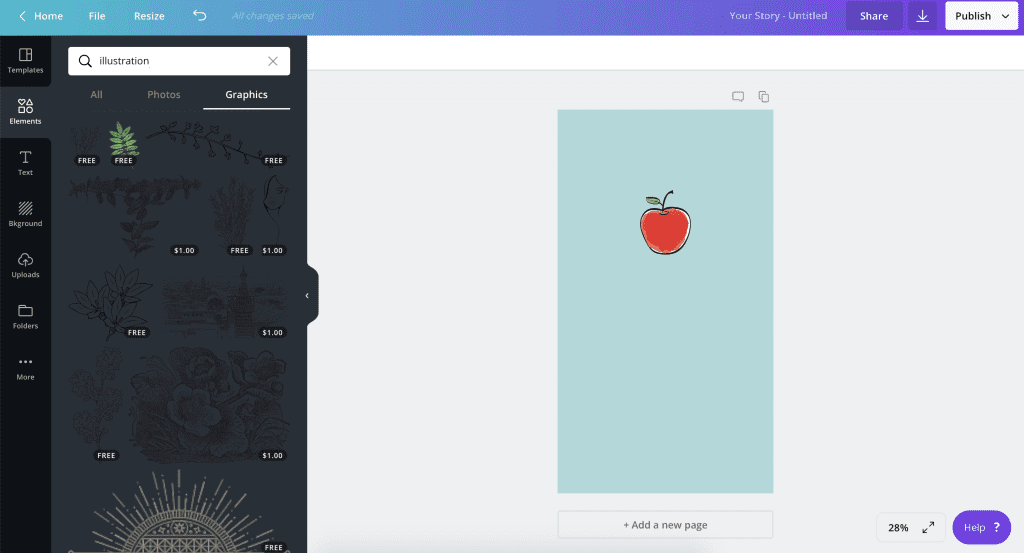
Simply pick a backdrop color and click “Download” after selecting the icon you wish to use as your personalized Instagram Highlights cover. Make sure the icon isn’t so big that Instagram’s circular cropping will erase parts of it.
![]()
Step 5:
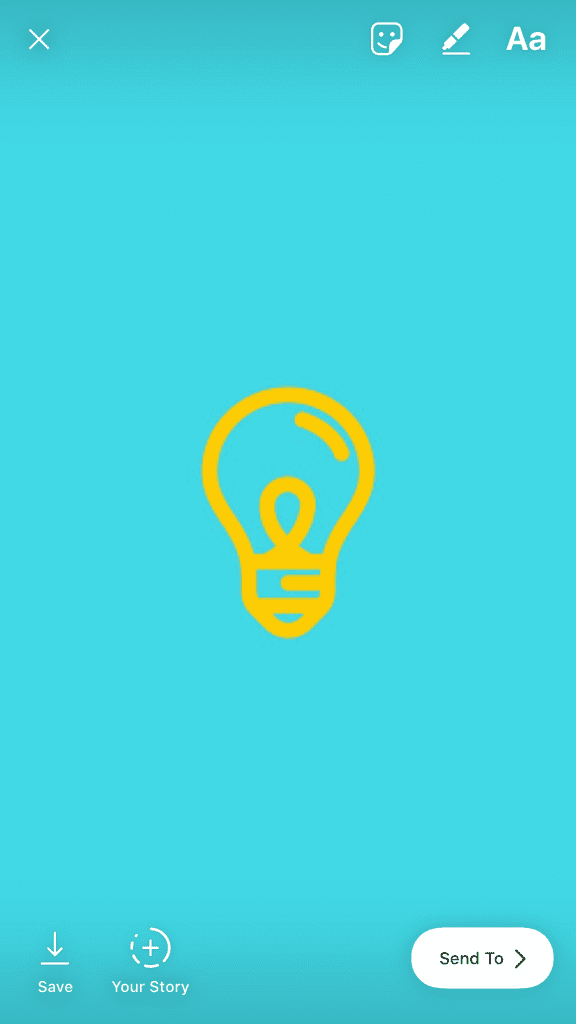
Make a copy of it on your phone and upload it on Instagram. It’s as simple as swiping left on your home feed. It’s a good idea to pinch the screen to zoom in on the photo you’ve selected as your icon.
When you utilize your icon as your cover, you don’t want any of the icon’s details to be masked off..
Step 6:
To make this image suitable for a custom Highlight cover, you’ll need to add it to the Highlight. Just tap and hold on to the Highlight you wish to edit, then select “Edit” from your profile. This is what you’ll see when you first arrive:
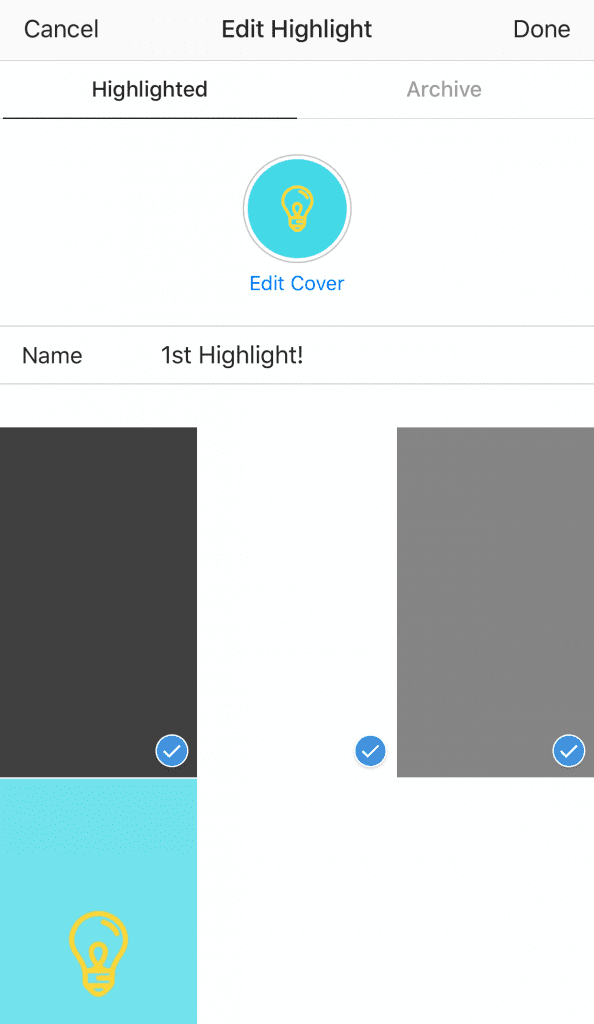
You’ll be able to pick and choose which Stories you want to keep and which ones you don’t. Your Story Archive can be accessed by swiping right.
If you haven’t already done so, slide over to your icon and choose it. Make sure your unique Instagram Highlights cover story appears at the end of your post to ensure that viewers don’t miss the actual Highlight itself.
Step 7:
Return to the “Highlighted” tab by swiping back. At the very end, you’ll find the Story that includes your icon. Use the slider at the bottom of the screen to select an icon for your cover.
Icon positioning can be accomplished with a simple pinch-and-drag. Simply tap “Done” when you’re done.


